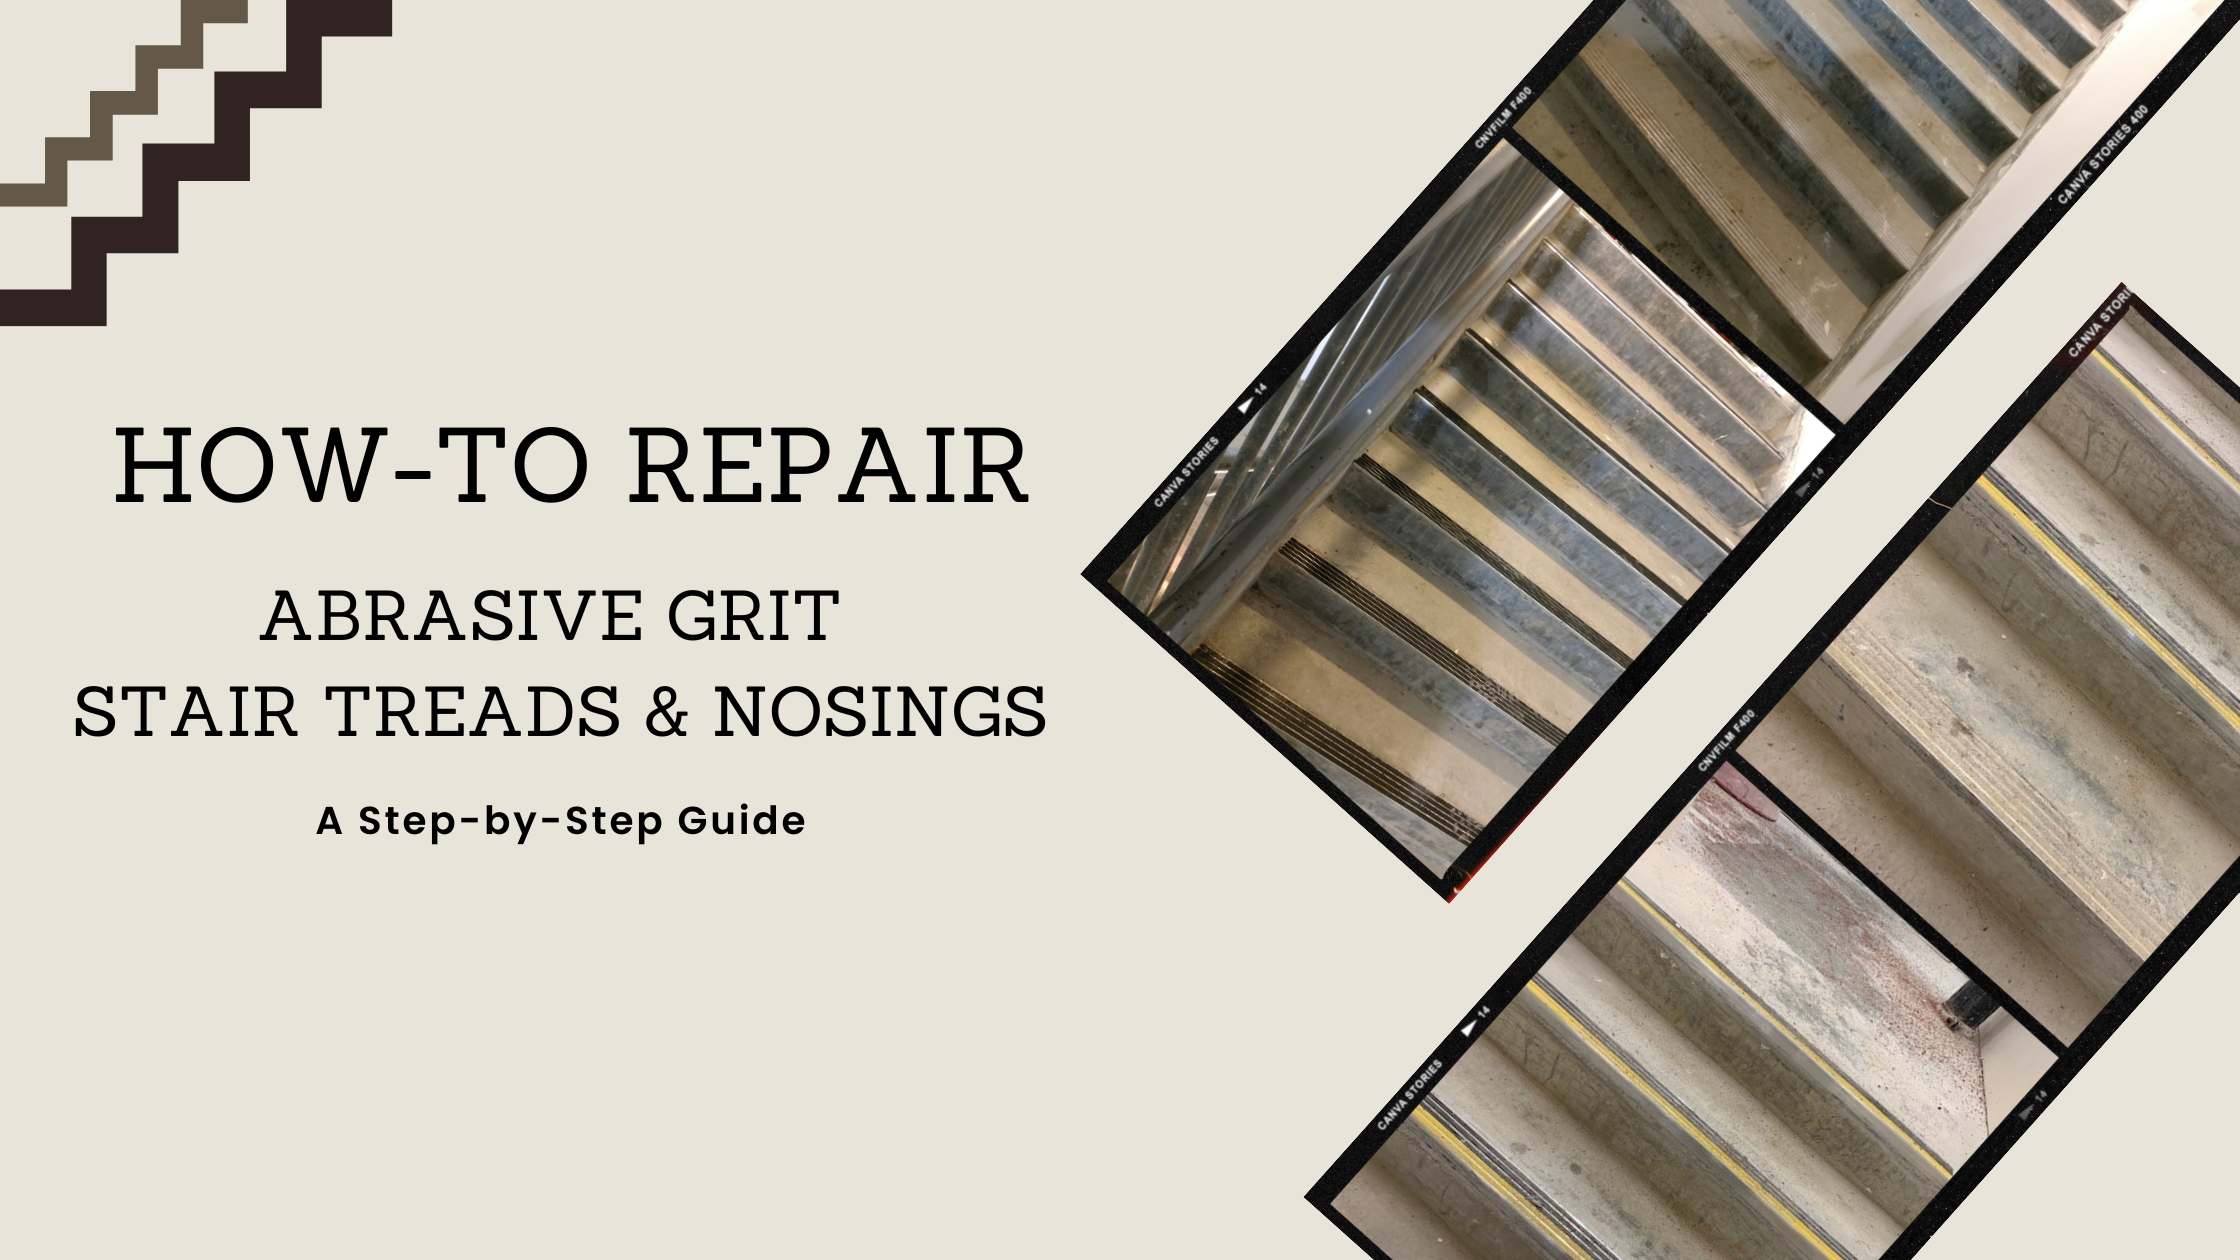
A Step-by-Step Guide
Abrasive grit stair treads and nosings provide essential safety features, enhancing traction and reducing the risk of slips and falls on stairways. Over time, however, these surfaces may experience wear and tear, requiring repairs to maintain their effectiveness. In this blog post, we will guide you through the process of repairing abrasive grit stair treads and nosings, ensuring they remain in optimal condition for continued safety.
Materials Needed:
| Replacement abrasive grit material | Measuring tape |
| Utility knife | Cleaning solution |
| Wire brush | Sponge or cloth |
| Safety goggles | Sandpaper (optional) |
| Gloves | Paintbrush (optional) |
| Non-slip coating (optional) |
Step 1: Assess the Damage
Carefully inspect the abrasive grit stair treads and nosings to identify areas that need repair. Look for loose or missing grit material, cracks, or other signs of damage. This assessment will help you determine the extent of the repairs needed.
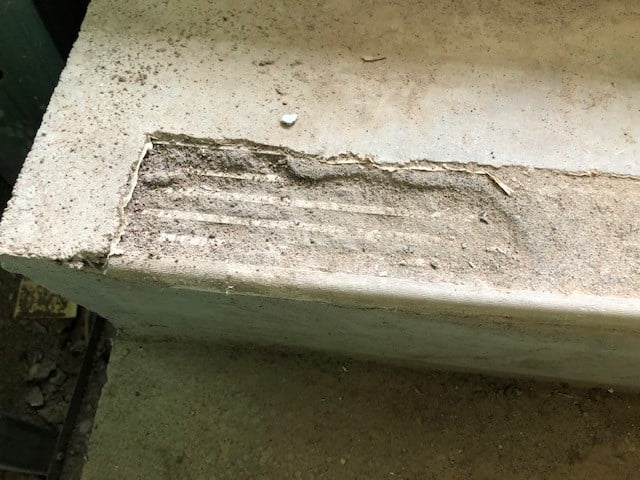
Step 2: Remove Loose or Damaged Grit Material
Using a utility knife or wire brush, gently remove any loose or damaged grit material from the affected areas. Take care not to damage the surrounding surface or nosing during this process.
Step 3: Clean the Surface
Thoroughly clean the area using a suitable cleaning solution and a sponge or cloth. This step ensures proper adhesion of the replacement grit material and removes any dirt or debris that may hinder the repair process.

Step 4: Measure
Using a measuring tape, carefully measure the dimensions of the area that requires repair.
Step 5: Mix Repair Materials
Mix resin and hardener from repair kit with sand. Follow the manufacturer's instructions regarding the application method and drying time. Be sure to wear gloves and safety goggles during this step to protect yourself.
Step 6: Install Replacement Grit Material
Carefully apply replacement grit material into the stair nosing. Press it firmly to secure adhesion. Remove any excess adhesive using a cloth or sponge.
Step 6: Optional Steps for Finishing and Longevity
If desired, you can take additional steps to enhance the durability and appearance of the repaired area. Sanding the edges of the replacement material can ensure a smooth transition with the surrounding surface. Applying a non-slip coating or paint can provide extra protection and aesthetics. Follow the manufacturer's instructions for these optional steps.
Repairing abrasive grit stair treads and nosings is crucial for maintaining their traction and safety features. By following the step-by-step guide outlined in this blog, you can effectively repair damaged areas, ensuring the continued functionality and longevity of these essential safety components. Remember to prioritize safety by wearing protective gear and using appropriate materials throughout the repair process.
Nystrom offers a complete line of stair tread nosings for your commercial building. Our nosings are ADA and OSHA-compliant, have anti-slip safety treads, are suitable for indoor and outdoor environments, and can be customized to your needs. Reach out to our support team with questions on product selection, building codes, or specification.