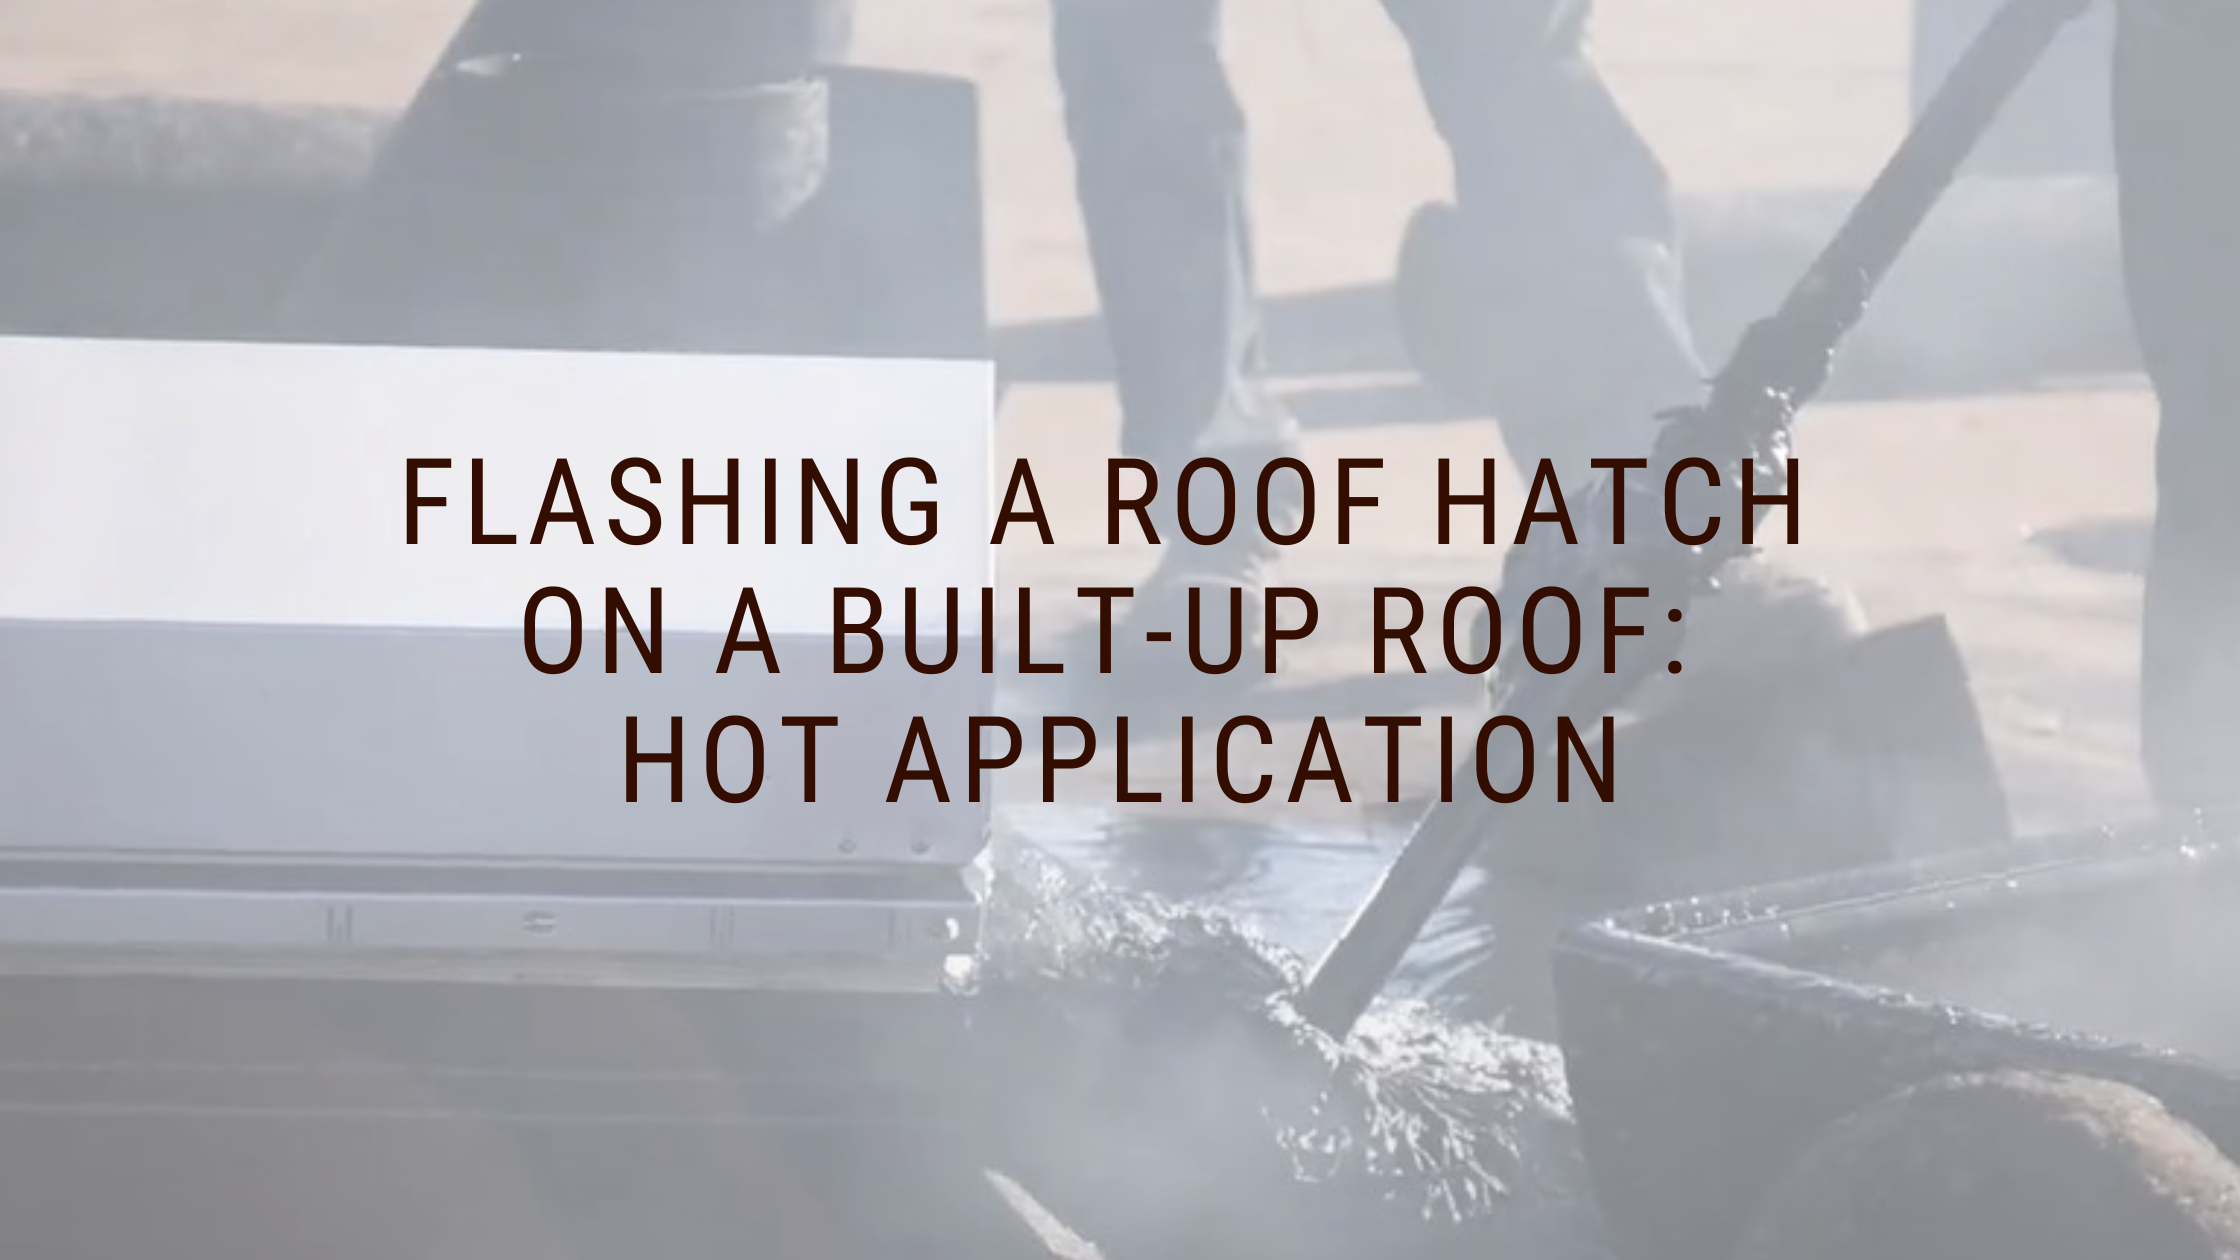
Steps and techniques for achieving a watertight seal on built-up roofs.
Roof hatches are essential access points on commercial buildings, providing entry to rooftop equipment, maintenance personnel, and emergency escape routes. However, improper flashing installation can lead to water intrusion, compromising the integrity of the roof and the structure below. In this comprehensive guide, we'll delve into the intricacies of flashing a roof hatch on a built-up roof using the hot application method, ensuring a watertight seal and long-lasting protection for your property.
Understanding the Importance of Proper Flashing:
Flashing serves as the first line of defense against water infiltration around roof penetrations such as hatches. On built-up roofs (BUR), which consist of multiple layers of bitumen and reinforcement fabrics, ensuring a secure flashing installation is crucial for preventing leaks and preserving the roof's lifespan. Hot application flashing, which involves melting bitumen to create a waterproof seal, is a preferred method for its durability and effectiveness.
Preparation and Safety Measures:
Before beginning the flashing process, it's essential to prepare the work area and adhere to all life safety rules and regulations as outlined by International Building Codes and OSHA. This includes ensuring proper ventilation to dissipate fumes from heating bitumen, wearing appropriate personal protective equipment (PPE), and securing the hatch opening to prevent accidents or falls.
Step-by-Step Flashing Procedure:
- Surface Preparation: Thoroughly clean the area around the roof hatch opening, removing any debris, dirt, or loose materials that could compromise adhesion.
- Priming: Apply a bitumen-based primer to the substrate and the underside of the roof hatch flange to promote adhesion and enhance the waterproofing seal.
- Cutting Reinforcement Fabric: Measure and cut a suitable reinforcement fabric, such as polyester or fiberglass, to fit around the perimeter of the roof hatch opening, allowing for proper overlap.

- Hot Mopping: Heat bitumen to the recommended temperature and apply it generously to the primed substrate and the underside of the roof hatch flange using a mop or brush.
- Embedding Fabric: Immediately place the cut reinforcement fabric onto the hot bitumen, ensuring full coverage and uniform embedding. Use a roller or hand tools to smooth out wrinkles and remove air pockets.
- Additional Layers: Apply additional layers of hot bitumen and reinforcement fabric as necessary, building up the flashing thickness to create a robust waterproof barrier.
- Sealing Edges: Seal the edges of the flashing with bitumen to prevent water from seeping underneath and ensure a seamless transition between the roof surface and the hatch flange.
- Final Inspection: Once the flashing is complete, conduct a thorough inspection to verify the integrity of the seal and address any potential areas of concern.
Flashing a roof hatch on a built-up roof using the hot application method requires precision, attention to detail, and adherence to safety protocols. By following the steps outlined in this guide and employing best practices, you can effectively protect your commercial property from water intrusion and extend the life of your roof. Remember, investing in proper flashing installation today can save you from costly repairs and downtime in the future.
Nystrom roof hatches provide safe and convenient access to commercial building roof areas using interior ladders and stairs. For information on our rooftop products, visit our website or contact Customer & Sales Support.